
To stain concrete to look like wood, concrete can be realistically stained using concrete stains and dark and light highlights to mimic the appearance of wood planks. This technique involves coloring the entire floor with a base color and then adding antique or accent colors to create the wood-like effect.
Pouring new concrete or applying a cementitious overlay and stamping a wood pattern using rubber stamps are common methods for achieving this look. Overall cost and the lifespan of concrete staining can vary depending on factors such as the size of the area and the quality of materials used.
1. Preparing Concrete Surface
Before you begin the exciting process of staining your concrete to resemble wood, it’s crucial to properly prepare the concrete surface. Taking the time to clean, repair any imperfections, and sand the surface will ensure better adhesion and a more professional-looking finish.
Cleaning The Concrete Surface
Start by thoroughly cleaning the concrete surface to remove any dirt, dust, or debris that may interfere with the adhesion of the stain. A clean surface will allow the stain to penetrate evenly and create a beautiful wood-like appearance.
Repairing Any Cracks Or Imperfections
Inspect the concrete surface for any cracks, holes, or imperfections that need to be fixed. Use a concrete repair product to fill in or patch up these areas. By repairing the concrete, you ensure a smooth and seamless surface, which is essential for a realistic wood finish.
Sanding The Surface For Better Adhesion
Next, sand the entire surface of the concrete. This step is crucial for promoting better adhesion of the stain. Sanding helps roughen up the smooth surface, allowing the stain to penetrate and bond effectively. Use a floor sander or sanding block to achieve a uniform and textured surface.
By following these three essential steps in preparing the concrete surface, you are setting the foundation for a successful wood staining project. The cleaning, repairing, and sanding process will ensure optimal adhesion of the stain and result in a finished product that truly resembles wood.
2. Applying A Base Coat
To stain concrete to look like wood, start by applying a base coat. By using concrete stains and adding dark and light highlights, you can achieve a realistic wood plank appearance on your concrete surface.
In the process of staining concrete to look like wood, applying a base coat is a crucial step. The base coat serves as the foundation for the wood grain pattern and color, ensuring a realistic and durable finish. In this section, we will discuss how to choose the right base coat color, prepare and apply the base coat, and allow it to dry completely.
Choosing The Right Base Coat Color
Before applying the base coat, it is important to select a color that closely resembles the wood species you want to imitate. Whether it’s oak, mahogany, or walnut, the correct base coat color will contribute significantly to the authenticity of the final result.
In order to make an informed decision, consider obtaining color samples or swatches of different base coat options. Compare them to pictures or samples of the wood you are trying to mimic. Keep in mind that the base coat will influence the overall look of the stained concrete, so take your time to choose the most suitable color.
Preparing And Applying The Base Coat
Once you have chosen the right base coat color, it’s time to prepare the concrete surface before applying the stain. Start by cleaning the concrete thoroughly, removing any dirt, debris, or existing coatings. Use a pressure washer or a solution of mild detergent and water to ensure a clean and smooth surface.
After cleaning, allow the concrete to dry completely before applying the base coat. Check the manufacturer’s instructions for specific drying times, as this may vary depending on the product used.
Next, protect any adjacent surfaces or areas where you don’t want the base coat to be applied. Cover them with plastic sheeting or painter’s tape to prevent accidental staining.
Using a roller or a sprayer, apply the base coat evenly to the concrete surface. Make sure to apply the coat in a consistent and uniform manner, following the manufacturer’s recommendations for the specific product being used. Take your time and work in manageable sections to achieve a professional and natural-looking result.
Allowing The Base Coat To Dry Completely
After applying the base coat, it is essential to allow it to dry completely before moving on to the next steps of the staining process. Drying times can vary depending on factors such as humidity and temperature, so refer to the manufacturer’s instructions for accurate drying time estimates.
During this drying period, it is important to avoid any foot traffic or contact with the base coat. This will ensure that the base coat cures properly and forms a strong bond with the concrete surface.
Once the base coat is completely dry, you are ready to proceed with the next steps of the staining process, which involve adding additional layers and adding the wood grain pattern. Stay tuned for the next section of this guide, where we will explore these steps in detail.
3. Creating Wood Grain Pattern
Concrete can be stained to resemble the look of wood with the use of concrete stains and highlighting techniques. By applying different colors and creating grain patterns, concrete can take on the appearance of wood planks. Learn how to stain concrete to achieve a wood grain pattern with this step-by-step guide.
### 3. Creating Wood Grain Pattern#### Selecting the desired wood grain patternTo successfully stain concrete to look like wood, it’s important to first choose the desired wood grain pattern. There are various wood species to choose from, such as oak, mahogany, or maple, each with its own unique grain pattern. Consider the overall aesthetic you want to achieve and select a wood grain pattern that complements your existing decor. By selecting the right wood grain pattern, you can create a truly realistic wood-like effect on your concrete surface.#### Using tools to create wood-like textureOnce you have selected the desired wood grain pattern, it’s time to start creating that realistic wood texture on your concrete. There are several tools you can use to achieve this effect. One popular method is using a wood graining tool or a stiff brush to create the grain lines. Gently drag the tool or brush along the wet stain to create the desired wood grain texture. Experiment with different techniques and pressures to achieve the most natural-looking wood grain effect.Another method is using a wood graining rocker, which is designed specifically to mimic the look of wood grain. Simply rock the tool back and forth along the wet stain to create realistic grain lines. This technique can create a more pronounced wood grain texture on your concrete surface.#### Applying multiple layers of stain for depth and realismTo enhance the depth and realism of the wood-like effect on your stained concrete, it’s important to apply multiple layers of stain. This will create variations in color and add dimension to the surface. Start with a base coat of stain that closely matches the color of the wood species you are trying to replicate. Apply the base coat evenly, ensuring complete coverage of the concrete surface.After the base coat has dried, apply additional layers of stain in different shades and tones to simulate the natural variations found in wood. Use darker stains to create grain lines and lighter stains to highlight certain areas, such as knots or imperfections. Blend the stains together using a soft brush or sponge to create a seamless transition between the colors.Remember to let each layer of stain dry completely before applying the next layer. This will ensure that the colors don’t bleed into each other and maintain their distinct wood-like appearance. By applying multiple layers of stain, you can achieve a truly realistic wood grain pattern on your concrete surface.In conclusion, creating a wood grain pattern on stained concrete involves selecting the desired wood grain pattern, using tools to create a wood-like texture, and applying multiple layers of stain for depth and realism. With these techniques, you can transform your plain concrete surface into a stunning and durable wood-like masterpiece.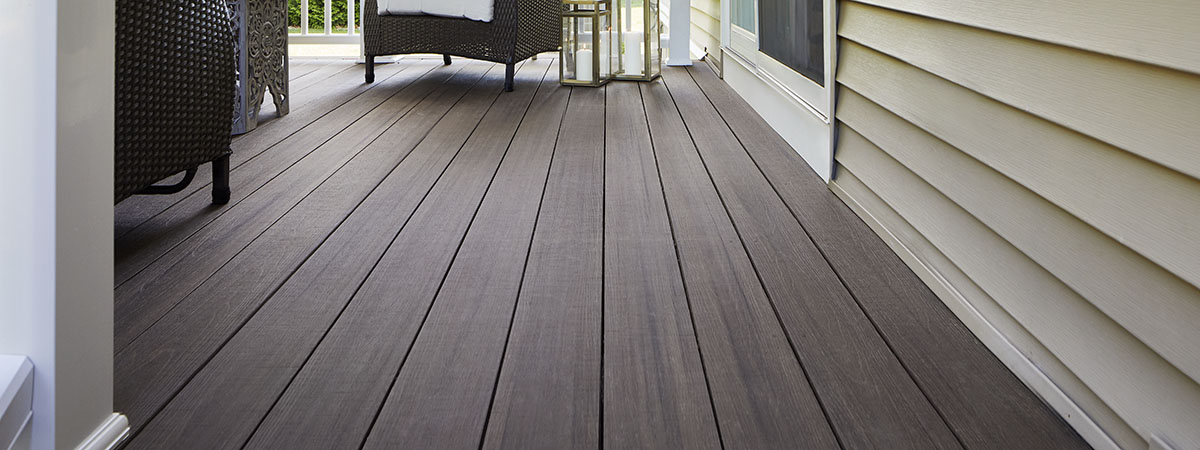
Credit: www.timbertech.com
4. Finishing And Sealing
To achieve the look of wood, stain concrete with a combination of concrete stains and dark/light highlights. This technique allows concrete to realistically mimic the appearance of wood planks, making it a great option for design projects. How to Stain Concrete to Look Like Wood – The Spruce
Look Like Wood offers endless possibilities for transforming your concrete surfaces into stunning wood-like finishes. Once you have successfully stained your concrete to resemble wood planks, it’s important to finish and seal the surface to enhance its durability and protect it from weathering and wear. In this section, we will discuss the key steps involved in finishing and sealing the stained concrete to ensure a long-lasting and visually appealing result.Applying A Protective Sealer To The Stained Concrete
After staining the concrete to achieve the desired wood-like appearance, the next step is to apply a protective sealer. The sealer not only enhances the aesthetic appeal but also acts as a barrier against stains, water damage, and UV rays. It provides a protective layer that prevents the stained concrete from fading, chipping, or cracking.To apply the sealer, follow these steps:- Clean the stained concrete surface thoroughly, removing any dirt, dust, or debris.
- Ensure that the concrete is completely dry before applying the sealer.
- Choose a high-quality roller or sprayer for the application.
- Start from one corner and apply a thin and even coat of sealer, working your way across the entire surface.
- Allow the first coat to dry according to the manufacturer’s instructions.
- Apply a second coat of sealer in the same manner to enhance the durability and protection.
- Let the sealer dry completely before stepping on the stained concrete surface.
Choosing The Right Sealer For Durability And Appearance
When selecting a sealer for your stained concrete, it’s crucial to consider both durability and appearance. Different sealers offer varying levels of protection and finishes. Here are a few factors to keep in mind while choosing a sealer:| Sealer Type | Pros | Cons |
|---|---|---|
| Acrylic Sealer | – Provides a glossy finish – Easy to apply and clean – Offers good UV protection | – May require frequent reapplication – May result in a slightly plastic-like appearance |
| Epoxy Sealer | – Highly durable and long-lasting – Creates a high-gloss finish – Offers excellent stain resistance | – Requires professional installation – Can be expensive – May yellow over time |
| Polyurethane Sealer | – Provides a glossy or matte finish – Resistant to scratches and chemicals – Provides UV protection | – Requires multiple coats for best results – Can be more challenging to apply |
Maintaining The Stained Concrete To Prolong Its Lifespan
To ensure the longevity of your stained concrete that resembles wood, regular maintenance is essential. Follow these tips to keep your stained concrete looking beautiful for years to come:- Regularly sweep or dust the surface to remove dirt and debris.
- Wash the stained concrete with a mild detergent and water solution periodically.
- Avoid using harsh chemicals or abrasive cleaners that can damage the sealer.
- Reapply a fresh coat of sealer every 2-3 years or as recommended by the manufacturer.
- Repair any cracks or chips in the stained concrete promptly to prevent further damage.
- Place doormats or area rugs in high-traffic areas to minimize wear and tear.
5. Enhancing The Wood Look
Achieve the look of wood flooring without the cost and maintenance by staining your concrete. By using concrete stains and highlights, you can realistically mimic the appearance of wood planks for a stylish and affordable alternative.
Once you’ve successfully stained your concrete to resemble wood, you can take the wood look to the next level by adding some additional decorative elements. These elements will help create a more authentic wood appearance and make your concrete truly stand out. Here are a few ways to enhance the wood look:
Adding Additional Decorative Elements Like Knots Or Grain Lines
To make your stained concrete resemble real wood even more, you can add decorative elements such as knots or grain lines. These elements can be created using specialized tools or by hand carving them into the stained concrete surface. By strategically placing knots and grain lines, you can mimic the natural imperfections found in real wood, giving your concrete a more realistic and organic look.
Using Different Staining Techniques For A More Authentic Wood Appearance
Using different staining techniques can also help enhance the wood look of your concrete. Rather than applying a uniform stain color, you can experiment with layering and shading to create variations in color and texture. For example, you can use a darker stain on the edges and lighter stain in the center to mimic the natural wear and tear of real wood. Additionally, you can try adding subtle gradients or veining effects to replicate the unique patterns found in different wood species.
Applying A Satin Finish For Added Sheen And Protection
To add the finishing touch to your stained concrete wood look, consider applying a satin finish. A satin finish will not only give your concrete a subtle sheen but also provide added protection against wear and tear. The satin finish will make your stained concrete appear more like polished wood, enhancing its overall aesthetic appeal. Be sure to choose a high-quality satin concrete sealer that is specifically designed for outdoor use to ensure long-lasting results.
Enhancing the wood look of your stained concrete involves adding decorative elements like knots or grain lines, utilizing different staining techniques for a more authentic wood appearance, and applying a satin finish for added sheen and protection. By implementing these tips and techniques, you can take your stained concrete to the next level and achieve a truly remarkable wood-like finish.
Frequently Asked Questions On How To Stain Concrete To Look Like Wood
Can You Stain Concrete To Make It Look Like Wood?
Concrete can be stained to look like wood using concrete stains and highlights. This technique creates a realistic wood plank appearance. Pouring new concrete or applying a cementitious overlay and stamping it with wood patterns are common methods. The cost and durability of concrete staining vary.
How Do You Make Concrete Look Like Wood?
To make concrete look like wood, you can stain it with concrete stains and add dark and light highlights to create the appearance of wood planks. Another option is pouring new concrete or applying a cementitious overlay and stamping a wood pattern using rubber stamps.
Use different coloring methods, such as a base color and antique or accent colors.
How Much Does It Cost To Stain Concrete To Look Like Wood?
Staining concrete to look like wood can cost anywhere from $3 to $10 per square foot. The final cost will depend on factors such as the size of the area, complexity of the design, and the type of stain used.
How Long Does Concrete Staining Last?
Concrete staining can last for many years with proper maintenance. The longevity of concrete staining largely depends on factors such as the quality of the stain, the amount of foot traffic, and the level of maintenance. Generally, concrete staining can last anywhere from 5 to 20 years.
Conclusion
Achieving the look of wood on concrete can be a game-changer for any space. By staining concrete, you can create the warmth and beauty of wood without the maintenance or cost. With the right techniques and products, concrete can be transformed into realistic wood planks.
Whether you want a rustic cabin feel or a modern aesthetic, staining concrete to look like wood offers endless design possibilities. So, unleash your creativity and give your concrete surfaces a stunning wood-like appearance that will leave everyone impressed.


